
Tutorial
How to Use a Glass Prism for Boudoir Portrait Photography
If you've ever watched sunlight pass through a glass prism and split into a band of color, you already understand the appeal. What's harder to anticipate is what happens when you put that prism in front of a camera lens during a boudoir session — when refracted light starts wrapping around a subject, painting unexpected color across skin, or creating a soft veil that turns a familiar pose into something unfamiliar.
Prism photography isn't a filter or an effect. It's a way of working with light that asks the photographer to slow down, see differently, and compose with two image planes at once: the subject in front of the camera, and the second image — the reflection, the refraction, the rainbow — being introduced through the glass.
This guide walks through the fundamentals of using a handheld glass prism for boudoir portrait work. It's written for photographers new to prism photography — no specialized background required, just basic comfort with manual focus and exposure on your camera. By the end, you'll have enough to load a prism into your bag, walk into your next session, and start experimenting with intent rather than luck.
Why prisms work especially well in boudoir
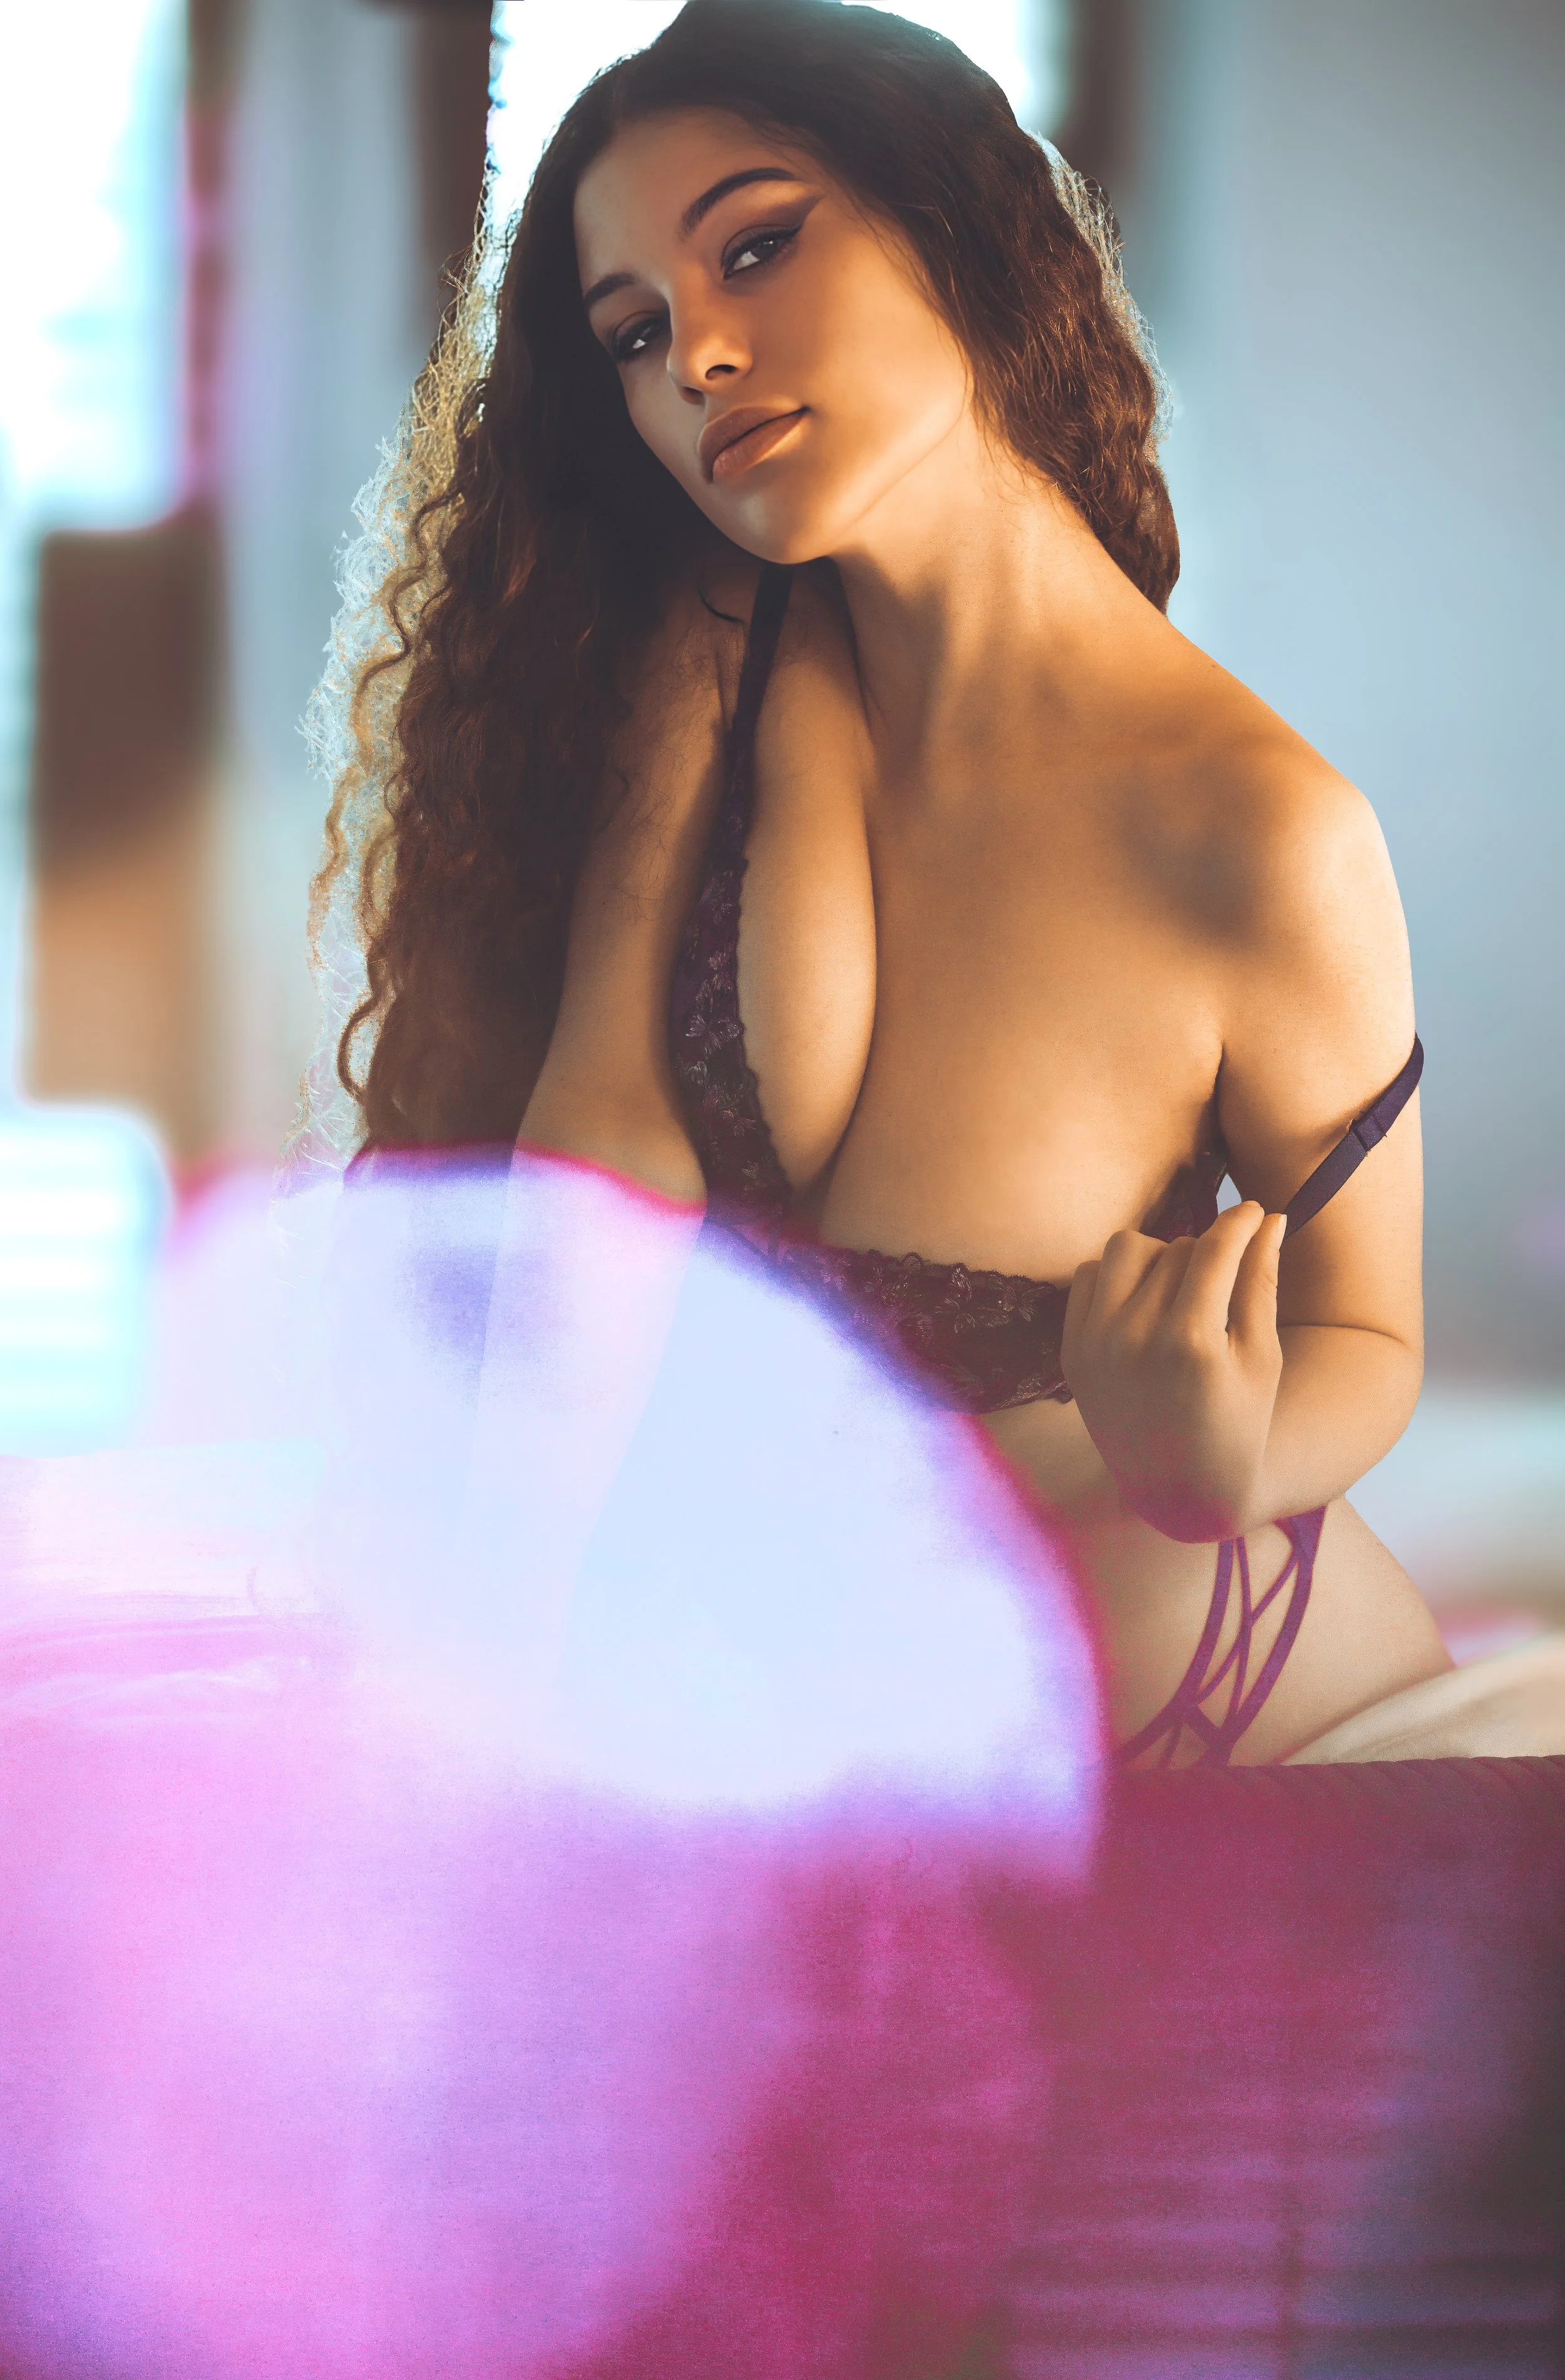
Boudoir is an intimate genre. The frame is usually tight, the subject is usually close, the lighting is usually controlled. That combination is exactly the environment where prisms shine — and exactly the environment where most prism tutorials don't apply.
Most prism photography content online is shot for landscape or street. Big distances, hard sun, wide lenses. Boudoir flips all of those variables. You're three to six feet from your subject, often using available window light or a single softened source, working in a confined space with predictable geometry.
Three things follow from this:
Refractions are bigger and softer. When a prism is close to the lens and the subject is close to the prism, refracted highlights and color casts spread across more of the frame. You get a wash, not a sliver.
Color separation becomes a compositional element, not a special effect. A prism breaking your single key light into a soft rainbow across a subject's shoulder isn't a gimmick — it's a way to introduce color into a scene that would otherwise be monochromatic, which boudoir often is.
The intimate frame forgives imprecision. Outdoor prism work demands surgical placement. Boudoir's tighter compositions are more forgiving — a slight repositioning of the prism just shifts the wash rather than ruining a sharp landscape line.
Handheld glass prism vs. screw-on prism filter
Two main tools, very different results.
A handheld glass prism is a solid block of optical glass — typically a triangular prism between 100mm and 150mm long. You hold it in your free hand, in front of the lens, and rotate it in real time as you shoot. The advantage is total control: you can move closer or further, tilt the angle, rotate around the long axis, and see the effect change instantly through your viewfinder. The disadvantage is that you're shooting one-handed, which limits you to lighter camera bodies or stable shutter speeds.
A screw-on prism filter threads onto the front of your lens like a polarizer. The prism shape is built into the filter housing, and the effect is fixed by whichever filter you've chosen. You can shoot two-handed, but you've given up real-time control — to change the look, you unscrew, swap, or rotate within a fixed mount.
For boudoir, my strong preference is the handheld glass prism. Sessions are dynamic. A subject's pose changes, the light shifts, you reposition. A handheld prism keeps up; a filter doesn't. The exception is if you're working on a tripod with a static composition and you want repeatable results — in which case a screw-on filter offers consistency a handheld can't match.
Either way, the rule: optical glass, not acrylic. Acrylic prisms are cheap and they look it — soft edges, low color saturation, plastic glare. The difference between a $15 acrylic prism and a $50 leaded-glass prism is enormous and visible in every frame.
Setting up your light
Prisms need light to work. Specifically, they need a defined, directional light source — not flat overhead lighting, not heavy diffusion that wraps the scene from every angle. The more directional your light, the more pronounced your refractions.
For boudoir, the easiest setup is a single key source: a north-facing window, a softbox, or an LED panel placed at roughly 45 degrees to the subject. That single source becomes your refraction generator. The prism, held between the lens and the subject, picks up the light and redirects pieces of it into the frame.
Two practical notes:
Backlight is your friend. A subject lit from behind or three-quarters back, with the camera in deeper shadow, produces the most dramatic prism work. You're capturing the rim of light wrapping the subject and refracting it before it reaches the sensor. The result is softer, dreamier, and more saturated than front-lit prism work.
Flag stray light off the prism. A prism in front of your lens will pick up any bright source in the room — including light bouncing off white walls, ceiling fixtures, or the photographer's own clothing. If your prism shots are washing out, look around the room. The fix is often as simple as moving a flag, dimming an overhead, or having the photographer dress in dark colors during the shoot.
Where to hold the prism
This is where most photographers struggle for the first hundred frames. There's no single answer — but there are reliable starting points.
Start with the prism touching the front element of your lens. Hold it perpendicular to the lens axis, with one of the prism's long flat faces pressed lightly against the filter ring. Then slowly tilt one edge inward toward the center of the lens. As you tilt, you'll see the refraction begin to creep into the frame from one side.
Rotate around the long axis to choose your refraction shape. A prism has three flat faces and three edges. Each face produces a different refraction shape and intensity. Rotate the prism slowly while watching your viewfinder — you'll see the refraction stretch, compress, split, or vanish depending on which face is presented to the light.
Pull the prism away from the lens to soften the effect. The further the prism is from the front element, the more diffuse the refraction becomes. Touching the lens gives sharp, pronounced refractions. Three to six inches away gives soft, painterly washes.
Watch the corners of your frame. Refractions almost always enter from the edges. Compose your subject with negative space on at least one side, and use the prism to fill that space. A subject placed dead center with no room for the refraction to live is a wasted setup.
Lens choice and aperture
For boudoir prism work, two factors matter more than focal length: aperture and minimum focusing distance.
Aperture: shoot wide open, but expect focus shifts. Wide apertures (f/1.8 through f/2.8) produce the dreamiest refractions because the prism's effect is partially out of focus, blending with the bokeh. The trade-off is that introducing glass in front of your lens shifts the focus plane slightly. Manual focus is non-negotiable here — autofocus will hunt and miss.
Minimum focusing distance: closer is better. Lenses with a tight minimum focusing distance (35mm, 50mm, and 85mm primes typically work well) let you pull in close without losing focus on the subject while the prism is in the frame. Long telephotos make boudoir prism work much harder because the working distance pushes the prism further from the source light, weakening the refraction.
A 50mm f/1.4 or 85mm f/1.8 on a full-frame body is a near-ideal pairing for handheld prism boudoir. Lightweight enough to manage one-handed, fast enough for natural-light interiors, sharp enough to render skin tones cleanly through the prism's color cast.
Common mistakes
A few patterns show up in early prism boudoir work, and all of them are fixable.
Refraction overwhelming the subject. If the prism wash is so heavy it obscures the model's face or torso, you've gone too far. Pull the prism further from the lens, or rotate to a less aggressive face. The subject should always be the dominant element; the prism is a layer, not a mask.
Color cast clashing with skin tones. A prism placed in front of a cool light source can throw blue or violet across a subject's skin, and not always flatteringly. If the cast looks sickly rather than ethereal, change the prism angle to shift toward warmer refraction colors (oranges and golds), or warm your light source to compensate.
Static composition. Photographers new to prism work often plant their feet, lock the prism, and shoot ten frames of the same image. Don't. The point of a handheld prism is movement. Rotate it, tilt it, pull it closer, push it further, between every frame. Most of the keepers come from the third or fourth micro-adjustment, not the first.
Forgetting to shoot without the prism. Always capture clean variants of your strongest poses without any prism at all. Refraction work is unpredictable; clean coverage is your safety net and often the strongest deliverable.
Going deeper
This guide covers the beginner fundamentals — enough to start producing usable work. The full creative system — including the Three Aperture Zones framework, advanced refraction control, multi-prism work, and the editorial methodology behind a complete prism-driven boudoir series — is the subject of Infinite Prisms, a digital-only photo book and technical guide from Voluptuary Media built for photographers ready to go further.
If you want to see the techniques applied across a finished body of work, with detailed breakdowns of lighting, prism placement, and post-processing for every image, the Infinite Prisms Photo Book and Tech Guide bundle is the deepest resource available on the subject.
Until then: pick up a glass prism, find a window, and start rotating. The first ten frames will be wrong. The next ten will surprise you.