Technique
The Three Prism Positions Most Photographers Never Try
Most prism tutorials show the same thing. Hold the prism vertically in front of the lens, rotate it until you see a rainbow, take the shot. That's position one. There's a reason it's the default — it works, it's forgiving, and it produces predictable results.
After enough hours behind the camera, that predictability becomes the problem. The image starts to repeat itself. Variations in lighting and color help, but the underlying shape of every frame stays roughly the same.
The three positions below break that pattern in different directions. None are technically demanding. All have been mostly absent from the standard tutorial circuit, which is part of why work that uses them tends to stand out.
1. Off-camera, in the beam
The standard mental model: prism is a lens accessory. You hold it in front of the lens, light passes through, the image refracts.
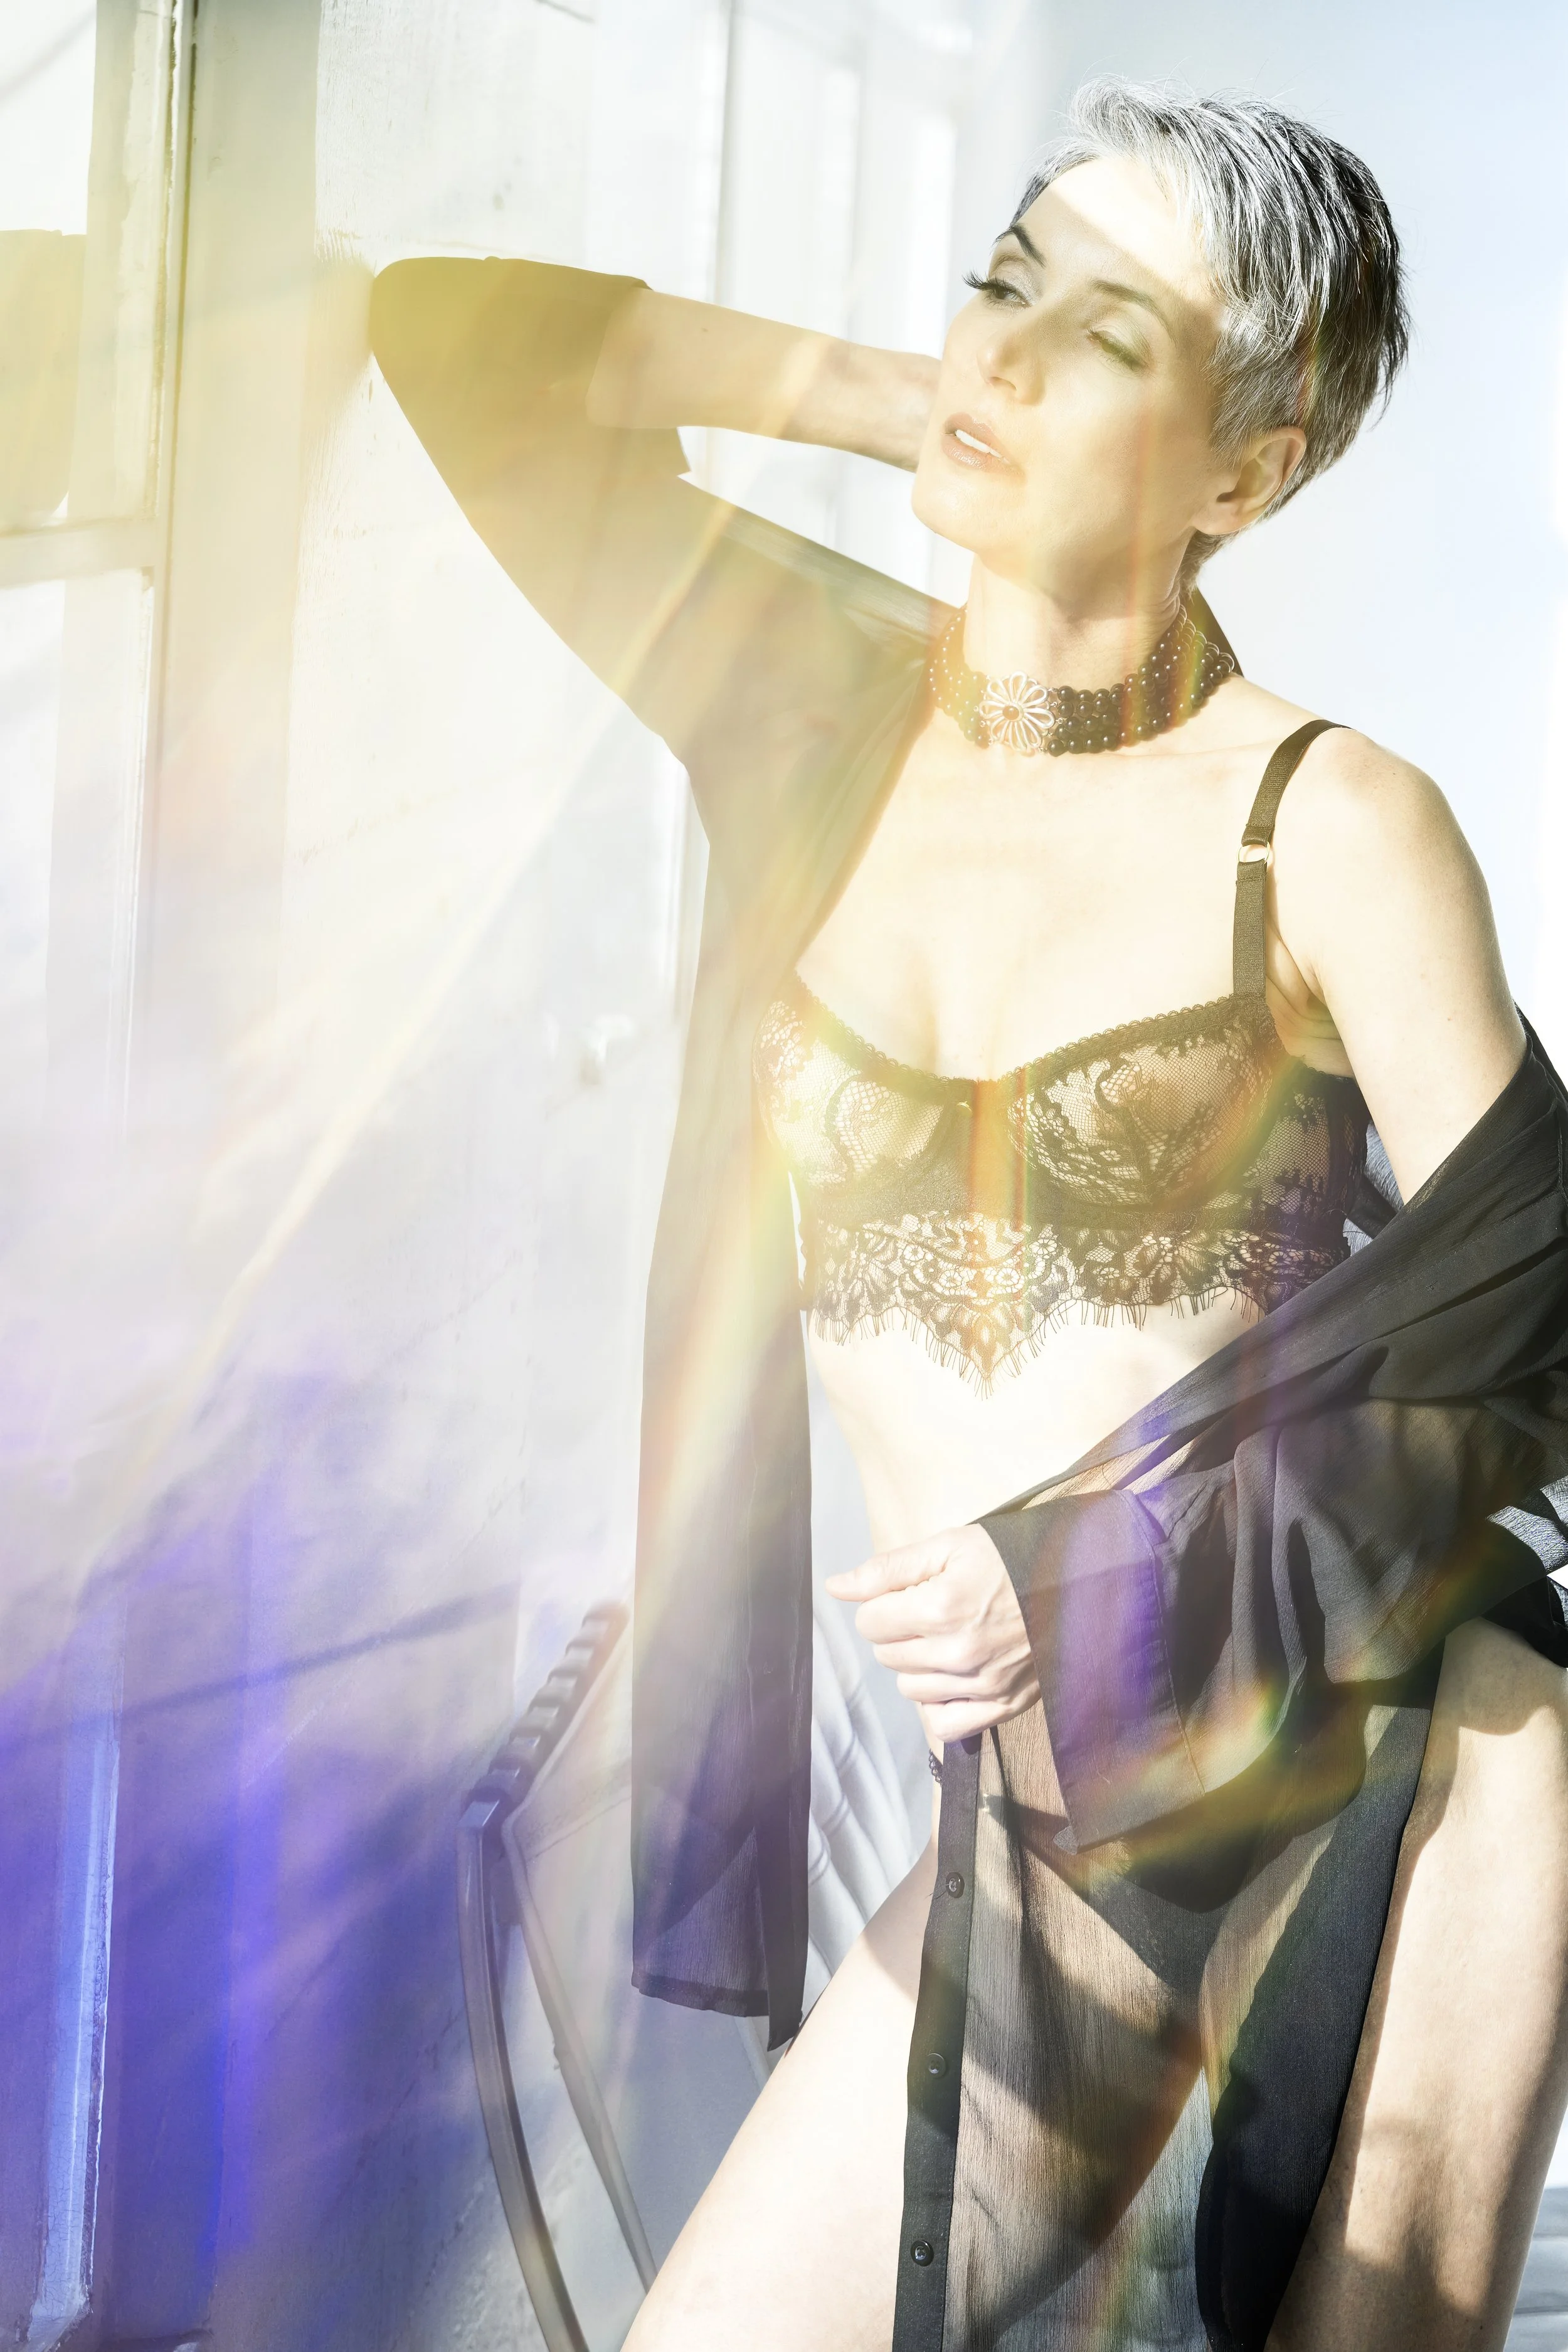
A more useful mental model for this position: prism is a light modifier. You hold it not near the lens but in the path of the light itself, before the light reaches your subject. The refraction happens to the light, not to the image. The result lands on your subject's body in clean prismatic stripes rather than washing over the entire frame.
The setup: find hard, direct light. A window with bare morning sun works. A single bare-bulb flash works. Anything diffuse will not — diffuse light doesn't have the angular precision to refract into visible color geometry.
Position the prism in the beam, several feet between it and the subject. Tilt it slowly and watch where the colors land on skin. When you see a stripe of full-spectrum color across the body, that's your shot.
This position takes an assistant or a stand. You can't operate the camera and hold the prism in the light path at the same time, not reliably. That's part of why it's under-tried. The standard prism workflow assumes single-handed operation. Once you accept the two-person setup, the position becomes one of the most flexible in the toolkit.
Most common mistake: positioning the prism close to the lens when this technique requires the opposite. The prism is upstream of everything. Its job is to color the light before the light arrives.
2. Point-on, not broad-face
The standard hold: prism's broad face squared to the lens. Light enters one face, refracts through the glass, exits the other side. You see color streaks running across the image.
The under-tried hold: rotate the prism ninety degrees so the long edge points directly at the camera, like the tip of a spear aimed at the front element. The light now enters from above or below rather than the side, and the refraction comes back at the lens along a different vector entirely. Color stops streaking across the frame and starts radiating from a center point instead.
This works best with portrait-orientation framing, backlit subjects, and longer focal lengths. 85mm and 135mm are where this position sings. Wide lenses dilute the effect because the radial geometry needs distance compression to read as deliberate.
The trick is alignment. You can't see the result clearly through the viewfinder while you're aligning, so it becomes a process of trial and error. With practice the muscle memory comes. Until then, give yourself ten extra frames per setup.
Most common mistake: rotating too far and ending up perpendicular again. The prism reads broad-face-to-lens at zero degrees and at one hundred and eighty degrees, and most people overshoot through the point-on position without realizing it. Ninety degrees of rotation is the target.
3. In frame, as the subject
Standard rule, repeated in every tutorial: keep the prism out of frame. Hide the tool. Let the effect look like magic.
An alternate rule, common in editorial photography but rarely applied to prism work: put the tool in the frame on purpose. Have your subject hold it. Place it on a surface near her. Let the source of the color be visible alongside its effect.
The aesthetic shifts immediately. The image moves away from being about an unexplained color phenomenon. It becomes a photograph of a person and an object, with the object's optical behavior as part of the composition. The aesthetic moves toward still-life and conceptual territory rather than the performative magic of a hidden prism. Boudoir work in particular benefits — a subject holding a piece of optical glass near her face is a more honest image than a subject who appears to be standing inside an inexplicable rainbow.
Watch your reflections. Polished crystal prisms reflect the environment, the camera, and often the photographer back into the lens. A reflection of your own setup in the prism kills the image. The fix is usually two feet of repositioning to one side or the other, combined with a small angle change to the glass.
Most common mistake: treating the in-frame prism like a prop you throw in for visual interest. The prism here is doing two jobs at once. It is a visible compositional element and the source of the color in the rest of the frame. Both jobs require attention. Pick your composition first, then place the prism to control where its refractions land.
What this changes
These three positions break the assumption that prism photography happens between the lens and the subject. Each one moves the prism somewhere different — upstream of the subject, into a new geometric orientation, or into the frame as a visible object.
There are eight more positions in the full taxonomy. Each one has different lens compatibility, different lighting requirements, different aesthetic outputs. The complete framework — diagrams, light angle charts, sample image breakdowns, and the troubleshooting guide for each position — lives in Infinite Prisms, the technical guide from Voluptuary Media.
If you want to start with one of these this week, the off-camera position is the place to begin. It changes how you read available light before you raise the camera at all, and that shift carries into the other two positions when you come back to them.